こんにちは、買物情報事業部の三浦です。
日々アプリを使っていて、ふとしたところでさりげないアニメーションや気の利いた効果音があると心地よく感じますね。
UIKitには手軽にアニメーションを実装できるようにAPIが用意されています。少し工夫するだけで効果的な動きを作ることができます。
サンプルを見ながらみていきましょう。
Basic
まずはUIViewのクラスメソッドのシンプルなアニメーションです。
オブジェクトを下にアニメーションさせます。
UIView.animateWithDuration(
    0.5,
    delay: 0.0,
    options: nil,
    animations: { () -> Void in
        self.circle.center = CGPoint(x: 0, y: 100)
    }, completion: nil)
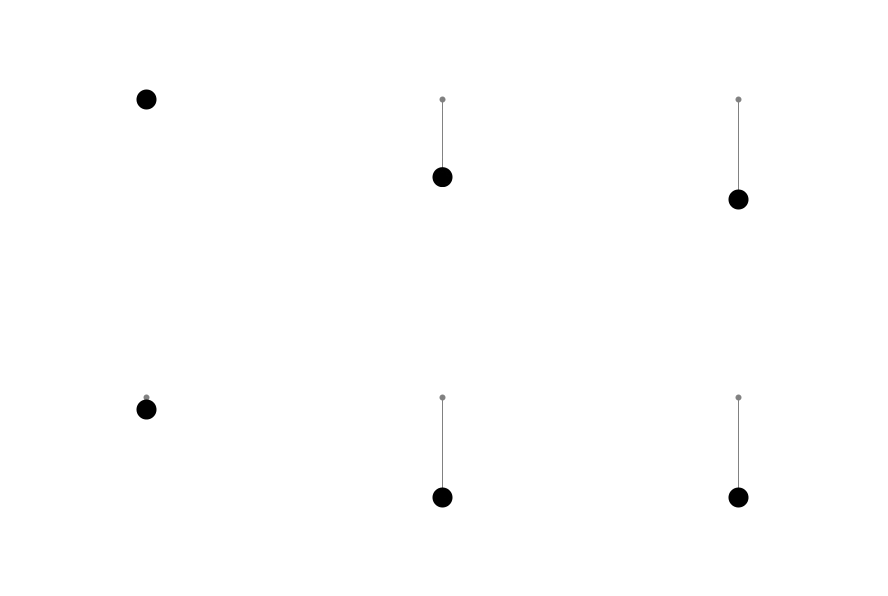
動きの加減をコントロールするイージングもUIViewAnimationOptionCurveとして指定することができます。
デフォルトでイージングのオプションがCurveEaseInOutが指定されています。
UIViewAnimationCurve - UIView Class Reference
これは始めと終わりを緩める動きになります。
時間と位置の関係をグラフにすると以下のようなイメージになります。
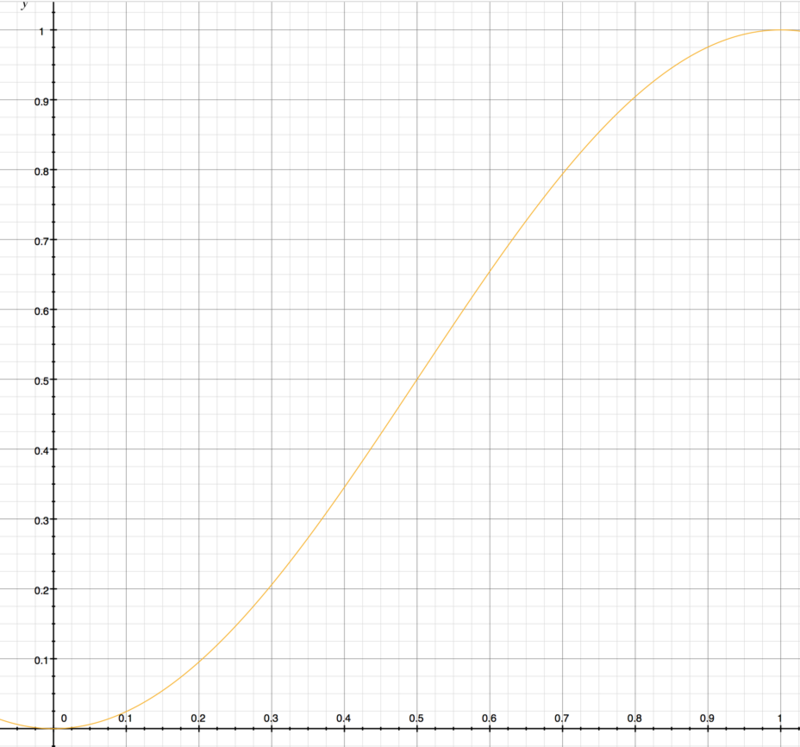
デフォルトで動きのニュアンスがつくように指定されていますね。
Linear
イージングにあえて緩急をつけずに等速運動をさせてみましょう。
optionsにCurveLinearを指定します。
UIView.animateWithDuration(
    0.5,
    delay: 0.0,
    options: .CurveLinear,
    animations: { () -> Void in
        self.circle.center = CGPoint(x: 0, y: 100)
    }, completion: nil)
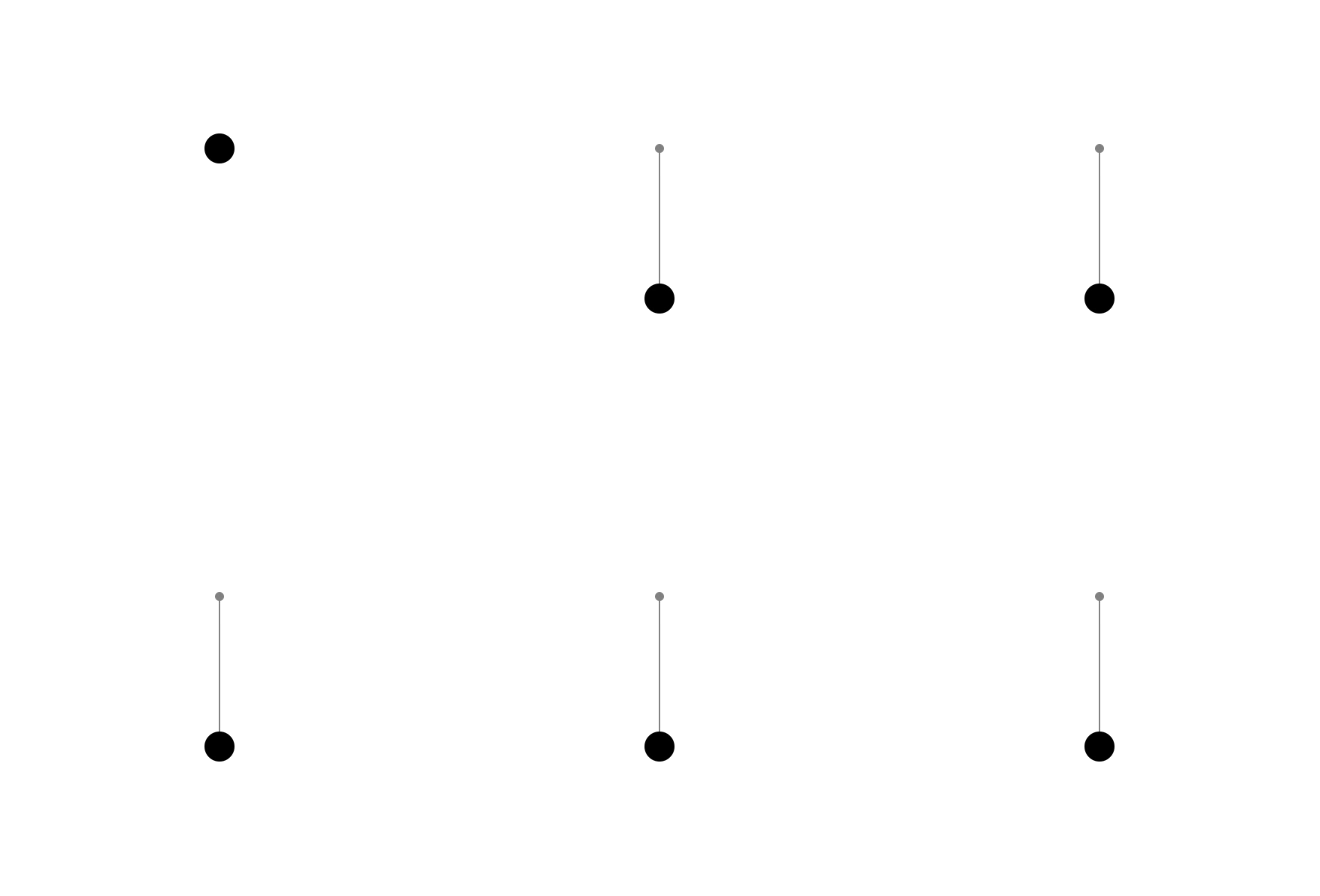
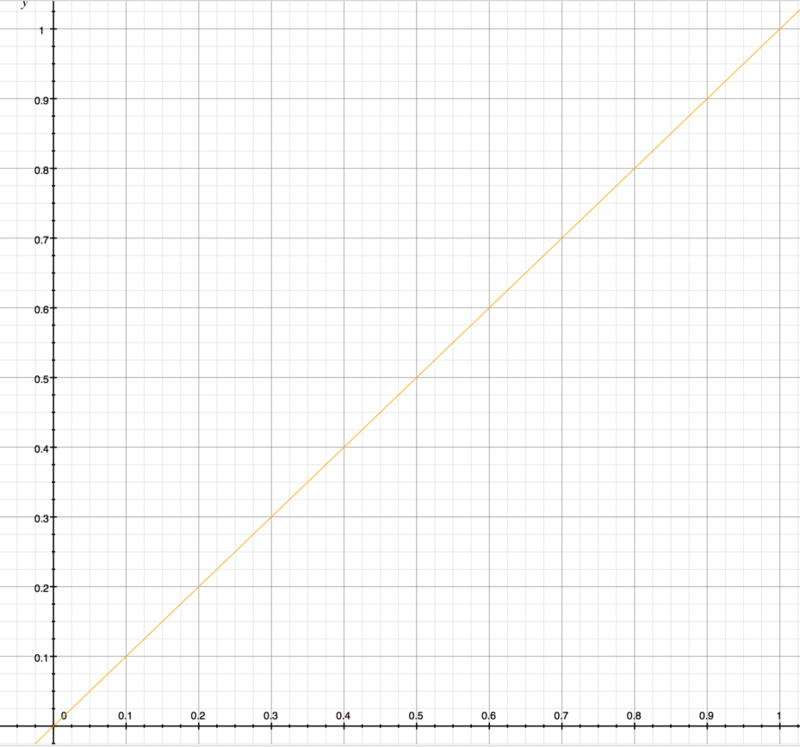
グラフはまっすぐな直線になります。
上と比べてどうでしょうか?少し動きが硬い印象になりますね。
もちろんアニメーションさせる値によっては緩急の必要のない場面もあるので、アニメーションさせる用途にあわせて使い分けましょう。
Spring
次にiOS7からUIViewのメソッドとして追加されたanimateWithDuration(_:delay:usingSpringWithDamping:initialSpringVelocity:options:animations:completion:)を使ってみましょう。
このメソッドは名前にもある通りばねのような動きを簡単に実現できます。
先ほどのアニメーションのメソッドと基本は変わりません。ポイントになるのはdumpingRatioです。
UIView.animateWithDuration(
    0.5,
    delay: 0.0,
    usingSpringWithDamping: 0.5,
    initialSpringVelocity: 0.0,
    options: nil,
    animations: { () -> Void in
        self.circle.center = CGPoint(x: 0, y: 100)
    }, completion: nil)
dampingRatioが1の場合には、振幅がなく最終値に向かいます。
1以下の場合、値が小さいほど振幅が大きくなります。
アニメーションの初速を変更したい場合はvelocityの値で変更することが可能です。
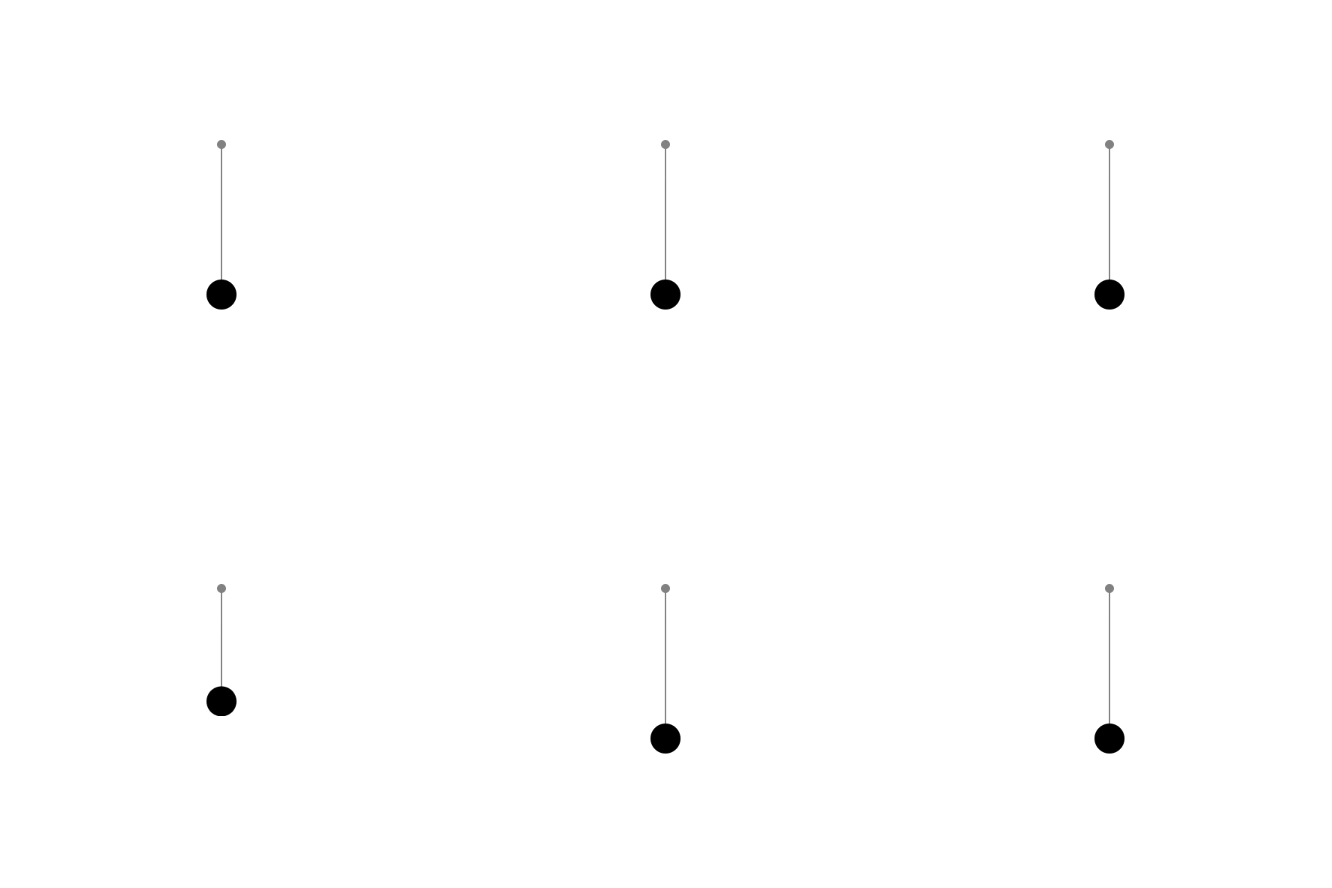
動きに対する勢いが反映されるので、より抑揚のついた動きをこのメソッドひとつで実現することができますね。
ポップアップでviewが表示される時やボタンのフィードバックなど、ちょっとした振幅があるとユーザーとしては触れた(操作した)感覚を感じることができます。
ただあまりやり過ぎると過剰な演出になってしまうので注意して値を調整しましょう。
Loop
アニメーションのオプションにはRepeatやAutoreverseも用意されているので、動きをループさせることもできます。
UIView.animateWithDuration(
    0.5,
    delay: 0.0,
    options: .Repeat |.Autoreverse,
    animations: { () -> Void in
        self.circle.center = CGPoint(x: 0, y: 100)
    }, completion: nil)
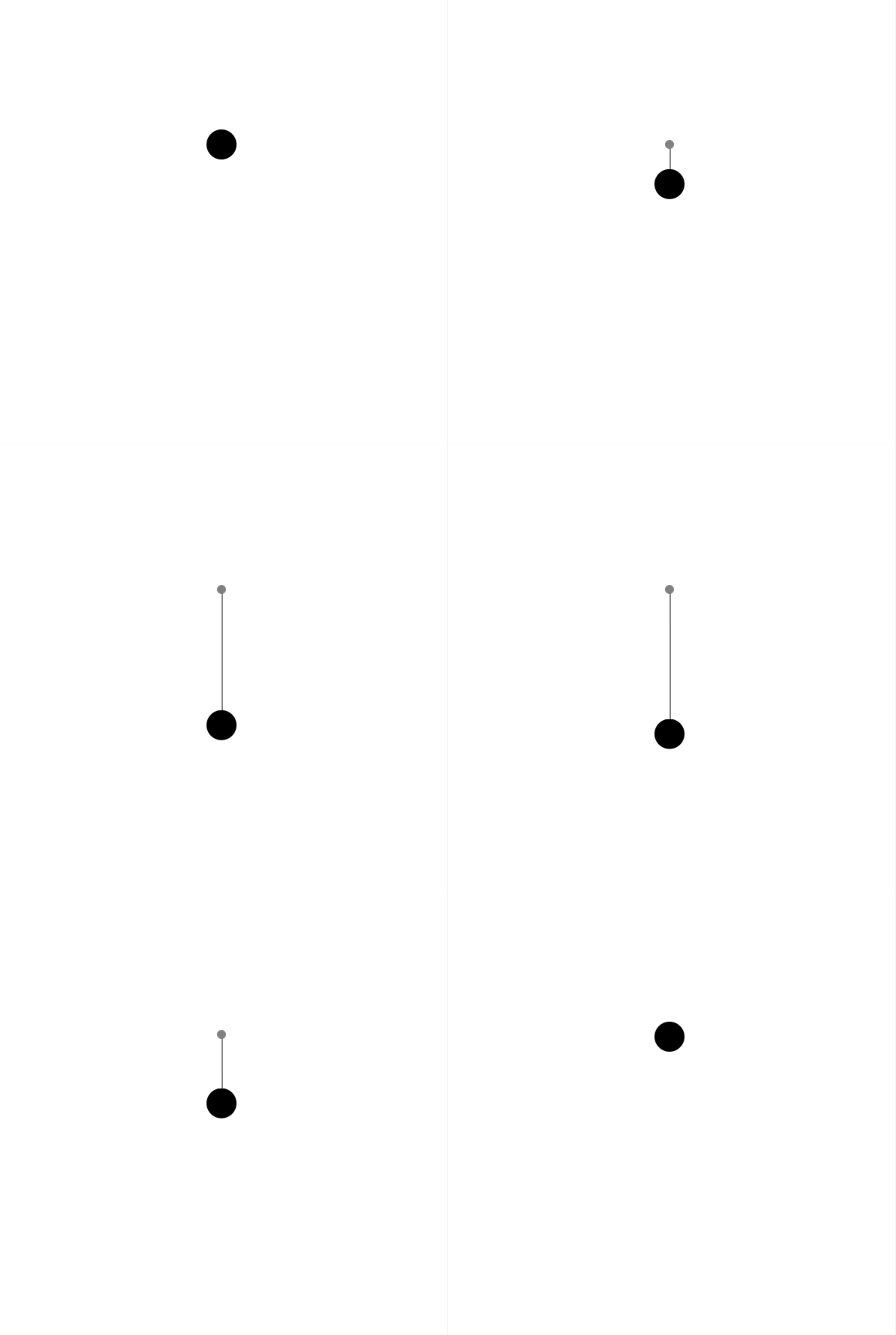
アニメーションカーブはデフォルトのCurveEaseInOutになっているので、初速と終速が緩やかになるアニメーションが連続しています。
まるでゴムが伸び縮みしているような動きになりますね。
アニメーションカーブを変化させるとまた違った動きが表現されます。
複数の連続したアニメーション
ここからはCore Animationを使っていきます。CALayerのサブクラスにCAReplicatorLayerがあります。
Sublayerを指定した個数分複製して表示するLayerです。
SublayerにはCAAnimationを組み合わせることができるので、短いコードでいろんなバリエーションの動きをつくることができます。
CAReplicatorLayer Class Reference
まずCAReplicatorLayerを使ってオブジェクトを複数置いてみましょう。
// CAReplicatorLayerを生成、追加let replicatorLayer = CAReplicatorLayer()
replicatorLayer.frame = view.bounds
view.layer.addSublayer(replicatorLayer)

// sourceになるSublayerを生成、追加let circle = CALayer()
circle.bounds = CGRect(x: 0, y: 0, width: 10, height: 10)
circle.position = view.center
circle.position.x -=30
circle.backgroundColor = UIColor.blackColor().CGColor
circle.cornerRadius =5
replicatorLayer.addSublayer(circle)

replicatorLayer.instanceCount =4
replicatorLayer.instanceTransform = CATransform3DMakeTranslation(20, 0.0, 0.0)
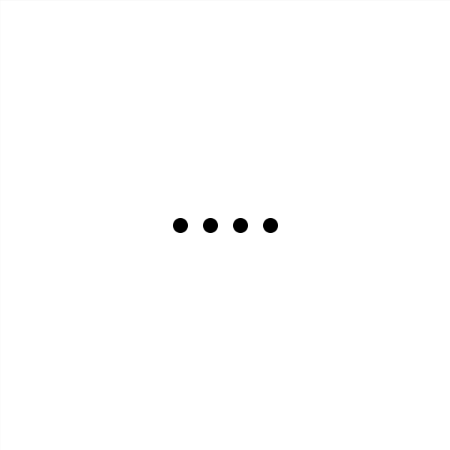
CAReplicatorLayerを生成します。次にsourceとなるcircleのlayerを生成し、CAReplicatorLayerに追加します。instanceCountでコピーしてできあがる数を指定し、instanceTransformでインスタンスの移動や回転などを渡します。これだけで以下のようなサークルを並べることができます。
次にアニメーションを追加します。
// 上下のアニメーションlet animation = CABasicAnimation(keyPath: "position.y")
animation.toValue = view.center.y +20
animation.duration =0.5
animation.autoreverses =true
animation.repeatCount =.infinity
animation.timingFunction = CAMediaTimingFunction(name: kCAMediaTimingFunctionEaseInEaseOut)
circle.addAnimation(animation, forKey: "animation")

replicatorLayer.instanceDelay =0.1
サークルのレイヤーに上下するアニメーションを追加してあげます。
アニメーションはCAAnimationを使用していますが、値はUIViewのメソッドで指定していたものと基本は同じです。
あとはinstanceDelayでインスタンス間の遅延時間を指定します。
アニメーションさせている場合は、その指定した時間分ずれてアニメーションされるので個々の動きをバラすことができます。
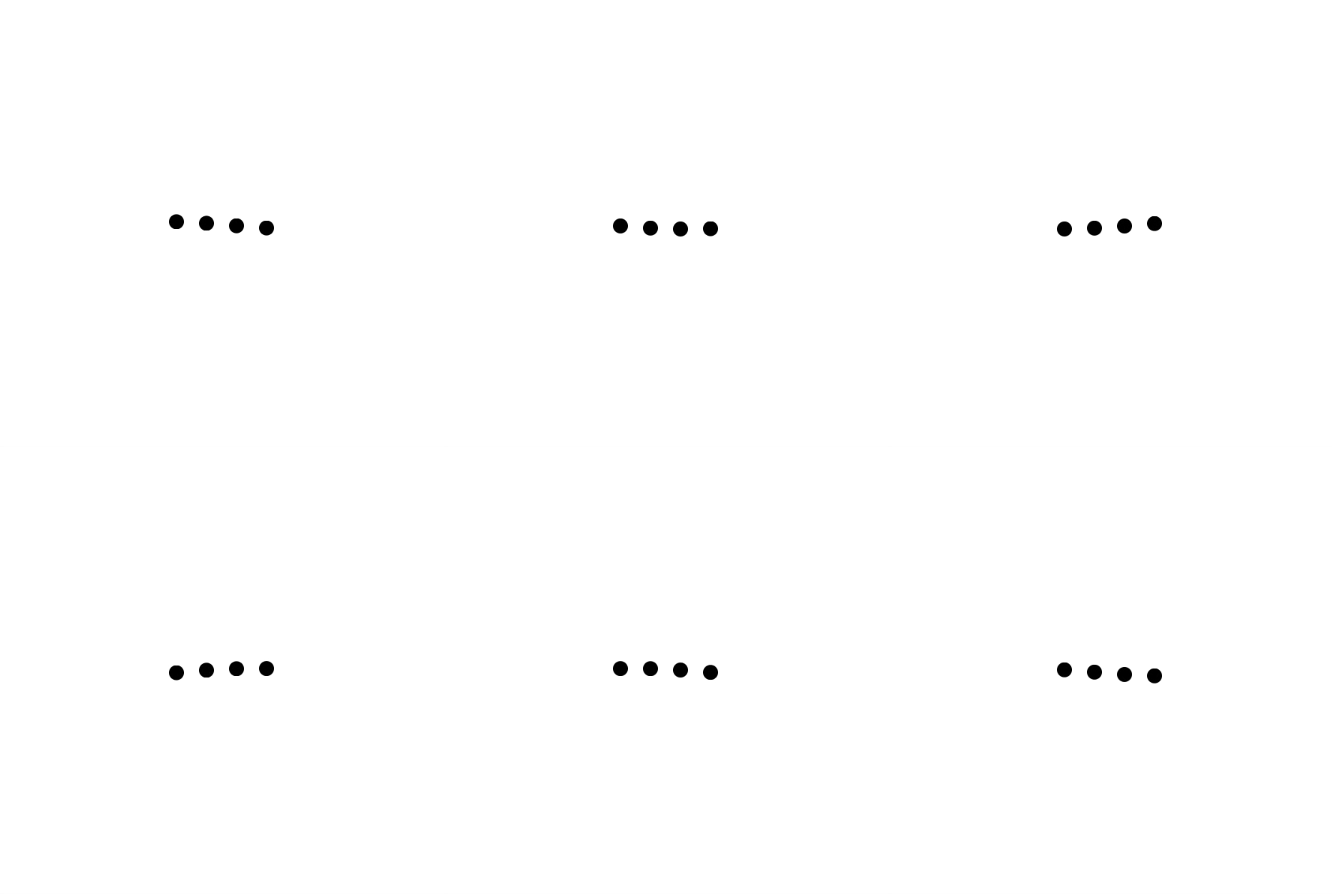
先ほどのシンプルな上下のアニメーションも複数で動かすことでウェーブしながら浮遊しているように見えますね。
静かで心地よい動きなので、ロードのちょっとした合間に表示してもよさそうですね。
アニメーションと配置の変更
先ほどのものを少し変更するだけで、カスタムのインジケーターにすることもできます。
// サークルのスケールアニメーションlet scaleAnimation = CABasicAnimation(keyPath: "transform.scale")
scaleAnimation.toValue =0.8
scaleAnimation.duration =0.5
scaleAnimation.autoreverses =true
scaleAnimation.repeatCount =.infinity
scaleAnimation.timingFunction = CAMediaTimingFunction(name: kCAMediaTimingFunctionEaseInEaseOut)
circle.addAnimation(scaleAnimation, forKey: "scaleAnimation")

// replicatorLayerの回転アニメーションlet rotationAnimation = CABasicAnimation(keyPath: "transform.rotation")
rotationAnimation.toValue =-2.0*M_PI
rotationAnimation.duration =6.0
rotationAnimation.repeatCount =.infinity
rotationAnimation.timingFunction = CAMediaTimingFunction(name: kCAMediaTimingFunctionLinear)
replicatorLayer.addAnimation(rotationAnimation, forKey: "rotationAnimation")

replicatorLayer.instanceCount =6
replicatorLayer.instanceDelay =0.1var angle = (2.0*M_PI)/Double(replicatorLayer.instanceCount);
replicatorLayer.instanceTransform = CATransform3DMakeRotation(CGFloat(angle), 0.0, 0.0, 1.0);
サークルの上下のアニメーションの代わりにスケールアニメーションに変更します。
これだけでも十分ですが、ローディングのニュアンスを強調するためにreplicatorLayer自体も回転させています。
あとはサークルの数を増やしtransformで円上に配置されるように変更すれば完成です。
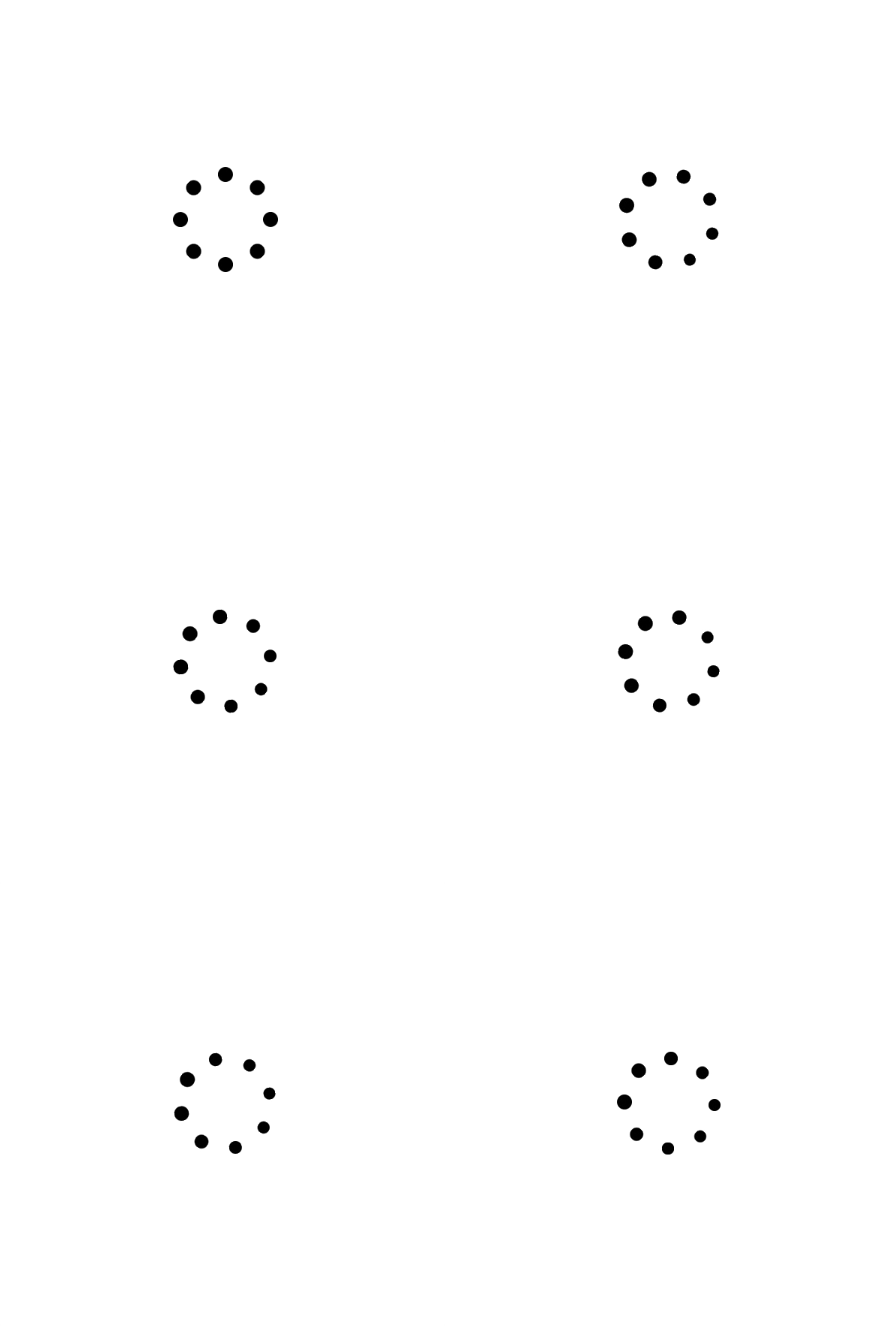
これだけの変更だけで見た目が大きく変わります。
サークルの数を増やしたり、配置やアニメーションを変更することで様々なバリエーションを作りだしていくこと可能です。
CAReplicatorLayerにも今回紹介していないパラメータがあるので、ぜひいろいろと試してみてください。
まとめ
動きは値を調整することで、気持ちいいポイントや思いがけない動きに出会うことが多くあります。アプリは日々使うものだからこそ、ロード時やインタラクションのフィードバックなど、ちょっとしたユーザー体験の向上がアプリ全体の印象に大きく影響します。
みなさんもぜひ心地よいアニメーションを探求してみてください。